A structurally sound roof is an essential part of your house. The roof adds architectural appeal and also helps protect your home from the elements. However, most homeowners trust that their roof can endure severe weather conditions. They only pay attention to the roof when they notice that it’s leaking or is noticeably damaged. Forgetting about the roof for years on end can lead to severe damage and create much larger problems for your entire home.
Performing regular roof checkups can extend the life of your roof and save you a lot of money in the long run. In this blog post, we’re going to cover the most important things you should have on your roof inspection checklist when performing a routine roof check.
Crucial Things to Look For
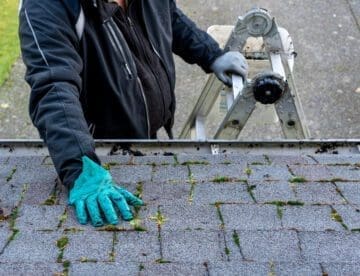
Performing periodic roof checkups will allow you to address any issues you might find before they develop further and cause a ton of damage. Of course, the less time you spend on your roof, the better. That’s why you should know exactly what to look for when you’re up there. Here are the most critical aspects you should pay attention to when doing a routine roof inspection:
- Missing or Broken Shingles — Having just one missing or broken shingle can compromise the integrity of your roof and cause a leak. If you find yourself in such a situation, make sure to replace broken or missing shingles immediately.
- Buckling Shingles —Even if all of your shingles are in place, pay attention if any of them are buckling or blistering. If left unaddressed, this problem can expose the entire sheathing to moisture and lead to costly roof repairs.
- Moss and lichen — If your roof has a lot of moss or lichen on it, it might be decaying underneath. Unlike black algae stains, which are just a cosmetic issue, excessive moss and lichen should be removed regularly.
- Damaged or Rusted Flashing — Rusty and loose flashing can lead to a lot of problems. Not only can it cause leakage and roof failure, but damaged flashing can break off and fall, which may injure anyone unlucky to be under its path.
- Cracked Caulking on Seams — Over time, caulk can become dry, cracked, and crumble away, exposing sensitive joints to the elements. Luckily, fixing this issue is relatively simple, as you only need to scrape out the old caulking and reseal the surface with a fresh layer.
- Damaged Rubber Boots Around Vent Pipes — Cracked or worn-out rubber boots can lead to leakage.
Clean Your Gutters and Overhangs
While this doesn’t strictly fall into any of the above categories, also make sure to give special attention to your gutters. After you perform your routine roof checkup, consider cleaning your gutters and roof overhangs.
This will help maintain your downspouts and ensure everything is functioning properly during the rainy season. Keep a close eye out for any signs of rot between the roof joints, as it can be a good indicator of more significant underlying issues.
The Best Time to Inspect Your Roof
As we mentioned in the beginning, most homeowners pay attention to their roofs only after severe hail storms or other adverse weather events, when they suspect their roof has been damaged. But this isn’t adequate. You should perform roof checkups at least once a year, sometimes more if weather has been particularly adverse.
For Florida homeowners, the best time to inspect your roof would be in late summer or early fall. If your roof is nearing the end of its life cycle, it will be more prone to the issues we talked about above. If you’ve got an old roof, you should inspect it twice a year, in spring and fall, for several reasons.
The most significant one is that your shingles need some time to settle and seal down properly for the winter if you find that there’s a need to replace any of them. Another important reason why you should perform checkups is that the weather conditions are still moderate enough. This allows you to safely perform a checkup.
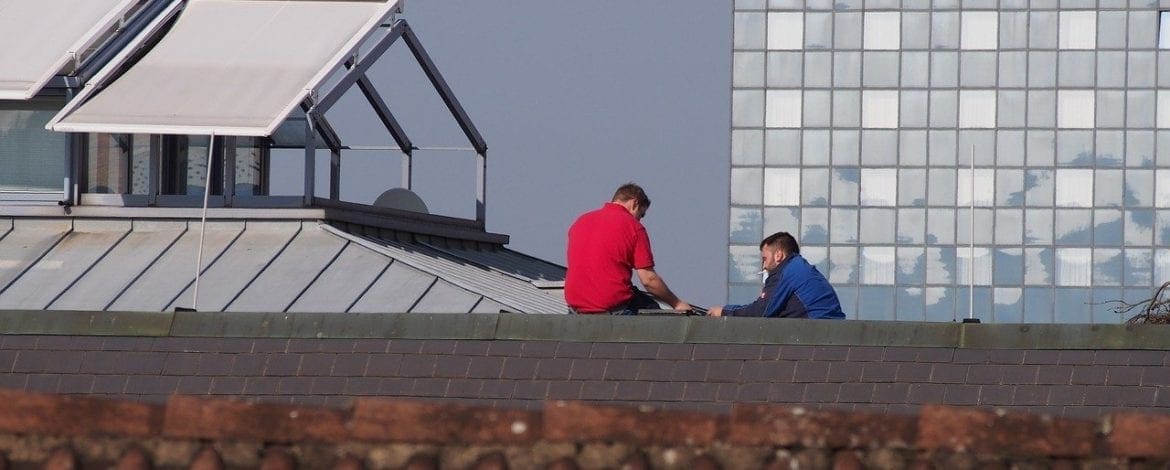
Be Careful When Inspecting Your Roof
Checking your roof a couple of times a year is a great way to get ahead of any problems. But it’s also crucial to ensure you’re as safe as possible when you’re up there on the roof. For example, incorrect ladder placement is a common mistake homeowners make. Setting up your ladder the wrong way can cause you to slip and fall and suffer severe injuries. The safest way to use a ladder for a roof inspection is to tie the ladder at the top of the roof. Also, make sure that the feet are on stable, flat ground.
If you decide to take a DIY approach and inspect your roof on your own, there are many safety aspects to keep in mind. We’ve focused on this subject in more detail in our Top 8 Roof Safety Hazards article from last week. So be sure to give it a read through before you climb a ladder to inspect your roof.
DIY vs. Hiring a Pro
We hope you found this article useful and that you can apply this information to your roof maintenance schedule. If you’re comfortable working on a roof and know how to make small repairs, performing regular checkups won’t be difficult for you.
However, if you’re not quite sure if you’re up to this task and are wary of doing any further damage to your roof, paying for a professional inspection and repair service is the best way to go. You’ll save time and effort and have peace of mind in knowing you provided your roof with the best possible treatment.
A professional roofing company can thoroughly inspect your roof and repair any problems quickly and efficiently. At Code Engineered Systems, we have experience in servicing all types of roofs. Contact us today at 813-373-9088 or fill our simple online form to get a free quote.