RVs have been popular for decades, but sales exploded during the pandemic. Many people took advantage of remote work arrangements, and plenty more got cabin fever and hit the road. One thing most RVs share is a need for routine maintenance, including periodic roof repairs. Many don’t get that routine maintenance, though, leaving their owners to face a full-on roof replacement at some point while they own it. So let’s look at RV roofing pros and cons.
What Is An RV Roof?
The roof on a new RV should hold up to the elements for 10-15years or so, but often they don’t. The stresses a typical RV incurs, such as simply driving down the highway at 60+ miles per hour, would be considered fairly harsh treatment for your home. But RVs have to endure those conditions often. The hot sun, with its intense UV rays, also takes a toll on just about everything over time, as well.
A factory RV roof is typically a membrane, such as EPDM, TPO, or PVC. Some upscale RVs use a one-piece fiberglass roof, which is nice to have, but we won’t address those roofs here. And Airstreams are all aluminum, riveted with lap joints. Membranes typically hold up well for RV roofs, as they can withstand the elements: sun, with its punishing UV rays, wind, rain, and temperature extremes. But over time, the elements inevitably take their toll, requiring some attention from you, the owner.
RV Roofing Pros and Cons
What are the pros and cons of each type? Most new RVs will have a TPO roof, as it stays more flexible than EPDM over time. It also tends to conform a bit more readily over curves, so it’s more likely to stay stuck down and doing its job for a decade or more. Another advantage is how you handle penetrations. On EPDM roofs, every boot for a penetration uses adhesive. TPO, however, uses heat welding to melt the boot and roof together. It’s a stronger and more durable connection. That connection actually cannot fail like an adhered boot can, because the welding process turns those two pieces into one piece. PVC is also a fine option, but manufacturers use TPO more in recent years. To be clear, any of these membranes works well and will last 10+ years with proper maintenance. The low cost plus heat welding of TPO comes out on top, however.
Why RV Roofs Fail
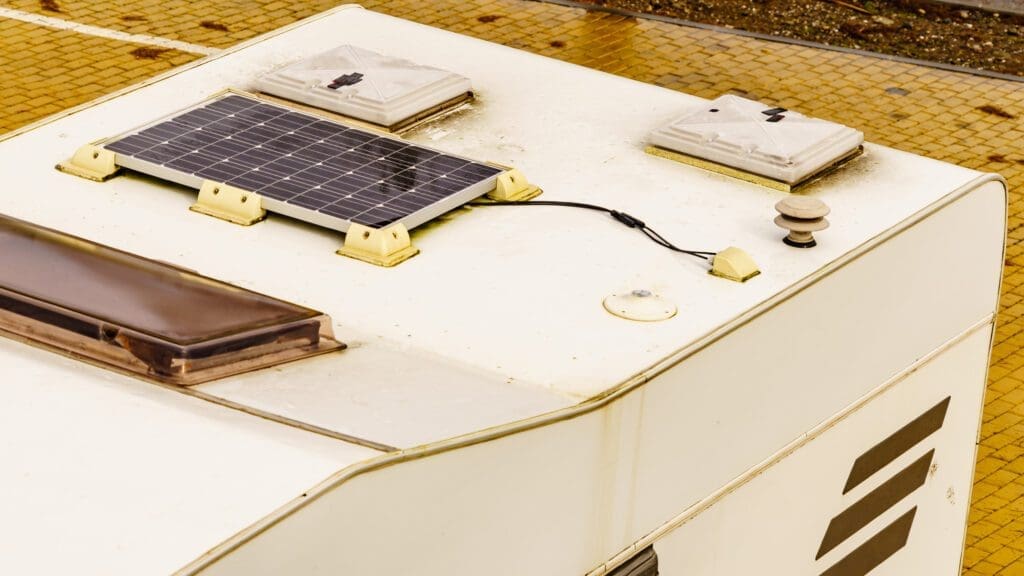
While the membrane itself may be the same product (or nearly the same) as used on a residential flat roof, an RV roof will pack all the penetrations into a much smaller area. A 40′ x 8.5′ RV roof is just 340 square feet. In that small area the roof might need penetrations for one to three AC units, one to three operable vents, a vent stack, hardware for the PV system, and so on. Typically, you seal those penetrations with a flexible sealant made for RV use, and they’re the source of most RV roof problems. In addition to the penetrations, the joint where the membrane roof meets the side panels and the front and rear caps is prone to leaks. The sealant actually works well if installed correctly and refreshed often, but it can dry out over time. When that happens, it tends to shrink and crack and pull away from the space it’s supposed to seal. Just a tiny gap can let enough water in to cause damage, including mold and dry rot.

Regular Inspection Is Crucial
RV roofs fail most often because owners don’t inspect them regularly, and from normal wear and tear—not because of damage. Infrequent inspections allow small problems to turn into big problems over time. It’s not a great idea to walk on your RV roof frequently, but checking the sealant around penetrations, and where the walls meet the roof, is crucial. Since you can’t always tell if cracked and shrunken sealant is actually letting water in, it’s better to be safe and just fix it. Re-seal as soon as you can. Plus, driving through low-hanging tree branches can wreak havoc on your roof, so it’s wise to have a look if you do encounter some branches from time to time.
If there’s a puncture in the membrane, or even pinholes, those can lead to the roof substrate rotting. Then you’re looking at a fairly involved repair, which involves removing the membrane and replacing the substrate. The substrate is typically plywood, though some newer RVs use other materials that won’t rot. As this post is about repairing or replacing your RV’s top roof surface, we won’t get into repairing the substrate. That’s a lot of work and you should know what you’re doing, or hire a pro.

When to Repair, and When to Replace
Technology has been very good to the roofing industry. We now have materials like membranes available that do an excellent job for a decade or more and you can install quite quickly. Many of the same materials we use for homes with flat roofs and for commercial buildings are also used for RVs. Therefore, you can use those same materials for your EPDM, TPO, or PVC RV roof repairs. You have the option of spot repairs with different kinds of tape, as well as with different types of caulk or sealant.
Spot Repairs
Spot repairs are a fact of life for RV roofs. You need to know what type of membrane you have and buy products that are compatible. Specifically, make sure any sealant is made for that type of membrane and specifically for RV use. You might be wondering if you can use Flex Seal, the “miracle sealant.” No, don’t do it. It’s a silicon-based product that nothing else will stick to. That’s a problem if you need to address that same leak later. You’ll have to remove all the silicon-based product—which is challenging—and re-seal.
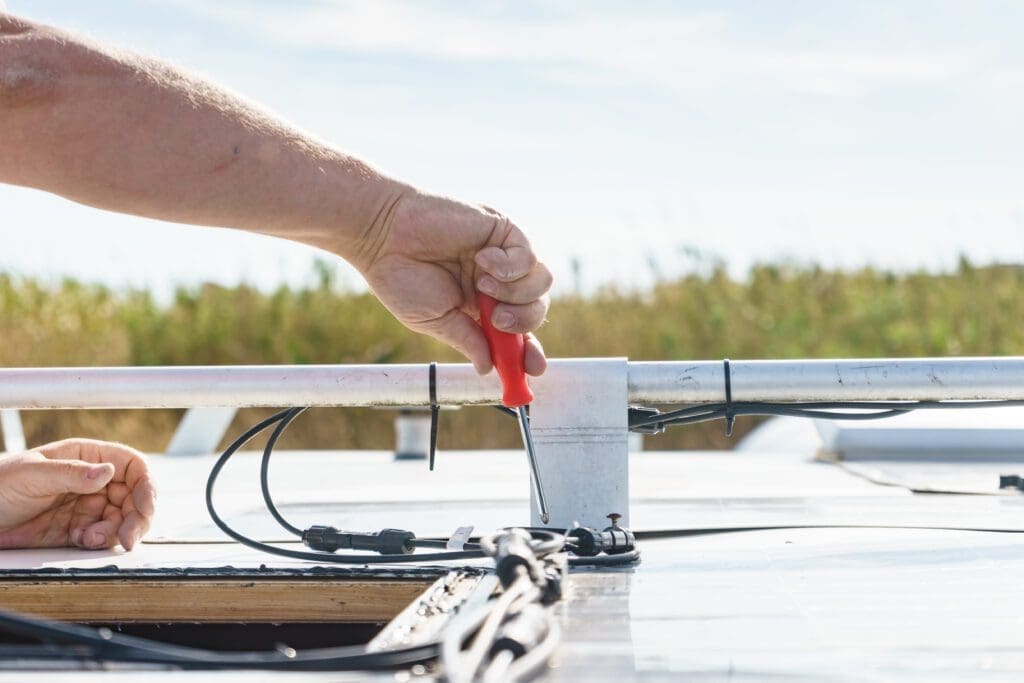
One product that might actually be close to a “miracle product” is Eternabond Tape. This flexible and super-sticky tape seals membrane roofs more or less permanently. Many RV owners have sworn off sealants in favor or using this tape. They seal all penetrations in the roof, and then seal the perimeter of the roof where it meets the walls and the front and rear caps. Installing this tape is simple, requiring just a thorough cleaning and then rolling the tape into place.
Full Replacement of the Membrane
Some time after 10-15 years, most RV membrane roofs will be ready for a replacement. That involves removing the AC unit, vents, and other hardware that lives on the rooftop. When you have those removed, you remove the membrane and evaluate the condition of the substrate, or the roof decking. You’ll fix any rotted areas, then move on to the new membrane. Get the surface clean and free of any debris, then roll out the new adhesive. Set the rolled membrane into place and slowly unroll.
With an RV membrane roof, you can get one piece of membrane to cover the entire roof, without needing any seams. You just have to cut the holes for all the vents, skylights, AC units, and so on. After you’ve installed the new membrane, you can heat weld (if it’s TPO) the new boots into place, then reinstall the components. You’ll still have to use an RV roof sealant around the perimeter of the membrane. TPO costs from $5-6 per square foot, so the materials don’t really add up to a whole lot of money. The secret sauce is the installation, repairing any part of the roofing system before proceeding with the next step, and taking your time.
Plenty of people install an RV roof outdoors, but it’s far preferable to tackle the process indoors in a shop. You don’t have to fight the wind and rain, not to mention flying insects and other debris that’s floating around.
Roll-on Roofing
A roll-on roofing product can also be an option. You can use these products for all types of flat roofs, including on mobile homes. The process involves thoroughly cleaning the roof, then usually rolling on a primer. They you follow with a relatively thick white, reflective roofing product. You’ll want to tape off and cover the sides of the RV to prevent drips onto the siding, and you’ll still have to ensure that all penetrations and the perimeter are properly sealed. As we mentioned earlier, many people have stopped using RV sealant and now use Eternabond tape. For the perimeter, your process would be to lay the tape halfway onto the new roof surface, then fold the tape down onto the siding, completely covering that junction.
You should expect a roll-on product to be short term compared to a new membrane, but there are times when that’s appropriate. As with any other roof repair, your prep work will determine a lot of your success.
Your Emergency Repair Kit
RV life is fun, but you never know what can happen out there on the road., Thus, it’s a good idea to keep a couple tubes of RV roof sealant and a roll of Eternabond Tape in your kit. You’ll be ready for quick, minor repairs wherever you may be. It’s good to be ready!
We’re Here When You Need Us
RV roofs require a slightly different approach than your home’s roof, but if you’d like to talk about any roofing need, give us a call at 813-373-9088. Our team has more than 40 years of experience in roofing. You can also use this form to let us know how we can help and we will contact you.


