The roofing shingles are undoubtedly the main piece of your roof. Still, there’s also one roofing material that plays an equally essential role — the flashing. It reinforces your entire roof’s surface and helps keep your household leak-free. On this page, we’ll go into all of the fundamentals of roof flashing, how it works, and why every home should have it.
What is roof flashing?
Before we discuss the different types of roof flashing, how they work, and their use, we should first answer the main question — what is roof flashing? Simply put, roof flashing is a thin piece of metal that’s resistant to moisture and heavy rain, and high winds.
Roof flashing can be made from many different metal materials. Most commonly, this includes copper, aluminum, and galvanized steel. It’s installed on areas of the roof prone to leaking. These areas are your roof’s edges, valleys, protrusions, and any surface where the roof meets a wall. After roof flashing is installed, it’s sealed to prevent problems such as mold or water damage.
What is the purpose of flashing on the roof?
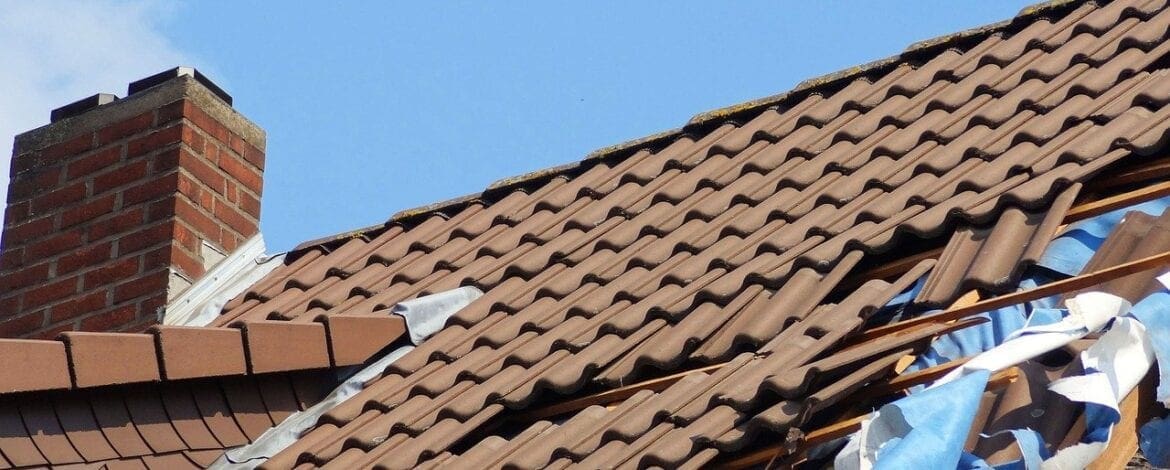
Leak-prone areas such as those surrounding chimneys, skylights, and vents should all be covered by roof flashing to keep water from seeping into the gaps between them and the adjoining shingles.
It does this by collecting any pooling water and directing it away from the roof’s surface. Regardless of the flashing’s location, this is always its primary purpose. Without flashing, leak-prone areas become damaged.
It’s crucial to install roofing flashing properly, so it doesn’t fail with time. Correctly-installed flashing should remain in position for years after the installation and keep water from getting inside of your attic.
The Most Common Types of Roof Flashing
Now that we understand what roof flashing is and how it works, let’s take a look at the most common types of roof flashing.
Base and Step Flashing
Base and step flashing is used on parts where the house’s vertical wall meets the roof decking. This is a very leak-prone area, as water can quickly get into the joint where the wall and deck intersect. In this case, the roof flashing acts more like a gutter that guides this water off of the area, keeping your wall leak-free.
Base flashing is used on front walls. It’s placed over the underlayment and under the shingles, so it’s not visible from the ground level. Opposite to this, step flashing finds its use on areas where the sidewall and roof deck meet. This material is installed along the full length of the sidewall where it joins the deck. Unlike base flashing, side flashing should be exposed to a certain extent to provide maximum protection.
Chimney Flashing
Roof areas around chimneys are probably the most leak-prone part of your entire roof. Mounting flashing around the chimney is a complex project that needs to be done right, and the flashing must cover each side of the chimney.
On the top side, a specifically-shaped structure called a roof cricket is built to prevent the water from pooling behind the chimney and seeping through the roof. A large piece of flashing is installed over the roof saddle. It’s mortared into the chimney to provide a water-tight barrier.
Along the chimney’s sides, counter flashing is directly mortared into the chimney brick. Lastly, flashing is mortared at the lowest point of the roof slope into the front chimney to guide the water down.
Valley Flashing
Like chimneys, valleys are a prime target for water penetration. They require quality and sturdy flashing to keep out the water. When it comes to valley flashing, the metal material is installed over the underlayment and under the shingles. That said, the shingles, in this case, are designed to overlap and form a gap that exposes the valley flashing.
As you can conclude from this, valley flashing is visible from the ground. Because of this, homeowners who pay particular attention to every visual aspect of their roof often opt for a more expensive and aesthetically-appealing valley flashing.
Vent Flashing
Vent flashing works similarly to chimney flashing but is much simpler and easier to install. The metal vent flashing has a central sprout opening that slips over the vent pipe. This opening could either be metal (for a vent top) or with a rubber water-tight fitting (for a vent pipe).
At the bottom of the vent flashing is a wide, square piece left exposed after the flashing installation. The flashing’s top and side parts are also slightly exposed, forcing the water to go around the vent and down the roof.
Is your Roof in the Best Condition Possible?
With all of the above information in mind, it’s clear that flashing is a pretty simple and straightforward material, but one that’s crucial for your home’s water protection. It’s also worth mentioning that roof flashing will differ significantly between houses, as each roof has its unique features.
Because of this, you should be sure that you understand your roof’s flashing needs and requirements. As with any critical roofing project, flashing requires careful thought and precise installation. For this reason, you shouldn’t hesitate to hire a professional and experienced roofing contractor.
Contact us online or call 813-373-9088 and book a free roofing estimate for your next project.